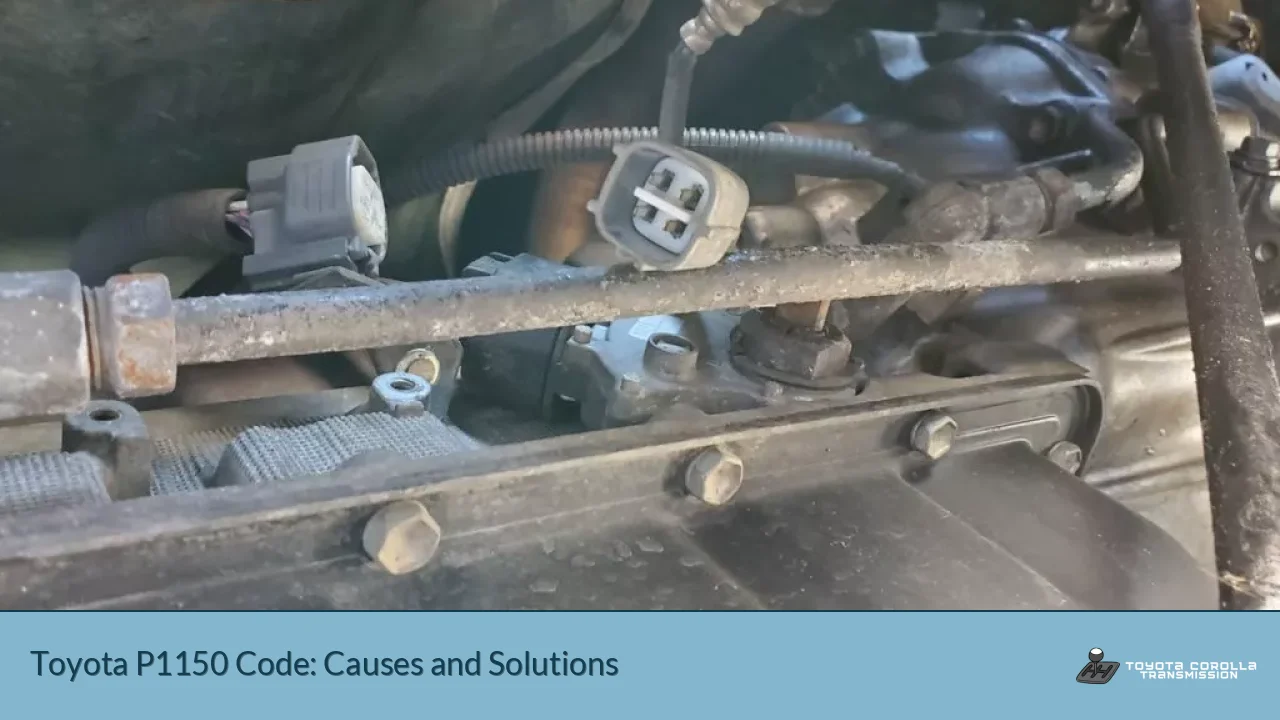
The P1135 code in Toyota vehicles indicates a malfunction in the heated oxygen sensor (HO2S) heater circuit for the left front sensor. This diagnostic trouble code (DTC) is specifically related to the sensor’s heating element, which is crucial for optimal performance of the oxygen sensor. When this code appears, it suggests that the Engine Control Module (ECM) has detected an issue with the sensor’s ability to reach and maintain its proper operating temperature.
| Aspect | Details | Possible Causes |
|---|---|---|
| Code Definition | Heated Oxygen Sensor (HO2S) – LH Front – Heater Circuit Malfunction | Faulty oxygen sensor, damaged wiring, ECM issues |
| Severity | Moderate | Can affect fuel economy and emissions |
| Common Symptoms | Check Engine Light, poor fuel economy, rough idle | Decreased performance, failed emissions test |
Understanding the P1135 Code
The P1135 code is specific to Toyota vehicles and relates to the air-fuel ratio sensor, also known as the oxygen sensor. This sensor plays a critical role in the engine’s fuel management system. It monitors the oxygen content in the exhaust gases and provides feedback to the ECM, allowing for precise adjustments to the air-fuel mixture.
Function of the Heated Oxygen Sensor
The heated oxygen sensor is designed with an internal heating element. This heater serves two primary purposes:
- Rapid Warm-Up: It quickly brings the sensor to its optimal operating temperature, ensuring accurate readings soon after the engine starts.
- Temperature Maintenance: It keeps the sensor at the correct temperature for consistent performance, regardless of exhaust gas temperatures.
When the P1135 code is triggered, it means that the ECM has detected an abnormality in the heater circuit of the sensor located on the left (driver’s side) front of the engine.
Implications of the P1135 Code
The presence of this code can lead to several issues:
- Decreased Fuel Efficiency: Without accurate oxygen sensor readings, the ECM may not adjust the fuel mixture correctly, leading to poor fuel economy.
- Increased Emissions: An improperly functioning oxygen sensor can cause the vehicle to run too rich or too lean, potentially increasing harmful emissions.
- Failed Emissions Tests: In areas with strict emissions regulations, this code could cause a vehicle to fail its emissions test.
- Reduced Engine Performance: The engine may experience rough idling or hesitation during acceleration due to improper fuel mixture.
Diagnosing the P1135 Code
Proper diagnosis of the P1135 code involves several steps:
- Verify the Code: Use an OBD-II scanner to confirm the P1135 code and check for any additional codes that might be present.
- Visual Inspection: Examine the wiring and connectors associated with the oxygen sensor for signs of damage, corrosion, or loose connections.
- Voltage Testing: Use a multimeter to test the voltage at the sensor connector. The heater circuit typically operates on 12 volts.
- Resistance Check: Measure the resistance of the heater element within the oxygen sensor. Refer to the vehicle’s service manual for the correct resistance specifications.
- Wiring Continuity Test: Check for continuity in the wiring between the oxygen sensor and the ECM.
Common Causes of P1135
Several factors can contribute to the P1135 code:
- Faulty Oxygen Sensor: The most common cause is a failed heating element within the sensor itself.
- Damaged Wiring: Frayed or broken wires in the sensor’s circuit can trigger this code.
- Corroded Connections: Corrosion at the sensor’s connector or in the wiring harness can disrupt the heater circuit.
- ECM Issues: In rare cases, a problem with the ECM itself may cause false readings.
- Blown Fuse: A blown fuse in the oxygen sensor’s heater circuit can prevent proper operation.
Resolving the P1135 Code
Addressing the P1135 code typically involves the following steps:
- Replace the Oxygen Sensor: If diagnostic tests indicate a faulty sensor, replacement is often the most straightforward solution.
- Repair Wiring: If damaged wiring is found, repair or replace the affected sections.
- Clean Connections: Remove any corrosion from connectors and ensure all connections are secure.
- Check Fuses: Inspect and replace any blown fuses related to the oxygen sensor circuit.
- ECM Diagnostics: If all other components check out, consider having the ECM tested by a professional.
Importance of Using Quality Parts
When replacing the oxygen sensor, it’s crucial to use high-quality, OEM or equivalent parts. Cheap aftermarket sensors may not meet the precise specifications required by Toyota vehicles, potentially leading to recurring issues.
Preventive Measures
To avoid future P1135 codes:
- Regularly inspect exhaust system components for damage or leaks.
- Maintain your vehicle according to the manufacturer’s recommended service schedule.
- Address any engine performance issues promptly to prevent strain on the oxygen sensors.
FAQs
What causes the P1135 code in Toyota vehicles?
The P1135 code is typically caused by a faulty oxygen sensor heater circuit, damaged wiring, or corroded connections in the sensor’s electrical system.
Can I drive my Toyota with the P1135 code?
While you can drive with this code, it’s not recommended for extended periods as it can lead to decreased fuel efficiency and potential engine damage.
How much does it cost to fix a P1135 code?
The cost can range from $100 to $500, depending on whether you need to replace the oxygen sensor or if there are more complex wiring issues.
Will the P1135 code clear itself?
The code may clear itself temporarily, but it will likely return if the underlying issue isn’t addressed.
How often should oxygen sensors be replaced?
Most manufacturers recommend replacing oxygen sensors every 60,000 to 90,000 miles, but this can vary based on driving conditions and vehicle model.

